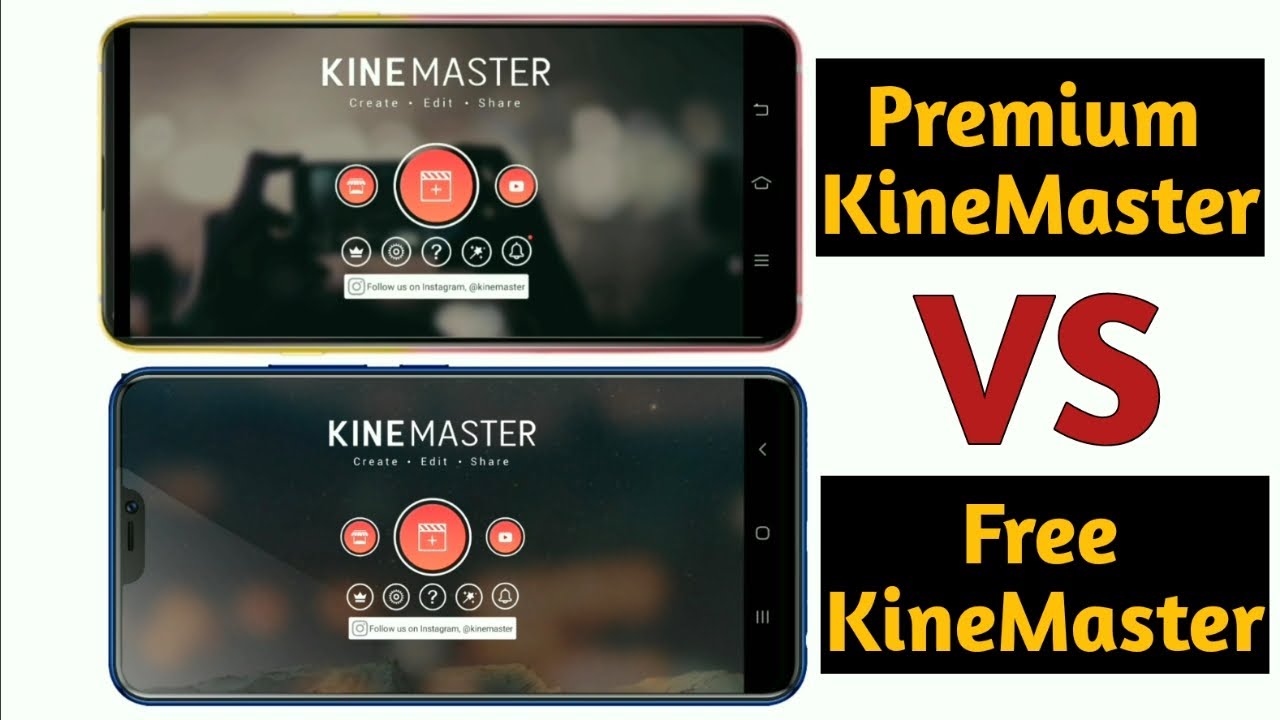
What is the difference between KineMaster Free vs KineMaster Paid?
Kinemaster is video editing software and it is used by creators of all levels to edit videos. But both Kinemaster free vs paid versions are available so the question is how can you choose which one is best for you? You can explore the features of both versions in this blog so you can decide which one is best for you kinemaster free vs paid.
Free Version: An Excellent Platform for Beginners and Casual Users
A free version Kinemaster apk is ideal for beginners or those who want basic adjustments because it offers a wide range of features for creating simple edits. Our Kinemaster Free vs Paid guide explores features and pricing & helps you decide.
Multi-layer editing:
To create visually appealing content by combining text videos and photos.
Transitions and effects:
Use a wide range of transitions and effects to enhance your edits.
Speed control:
Create slow motion videos using time-lapse and use hyper lapse effects on your video.
Voiceover and audio tools:
Add background music and story line in your video.
Royalty free assets:
you have access to a limited collection of music or sound effects and stickers.
Use Trim and cut tools:
Edit your video with exact frame by frame accuracy.
Limitations of the Free Version
Watermarked exports:
Free edits have a watermark, which reduces the level of professionalism.
Limited layers:
A free version has only a specific number of layers, so it is very difficult to complete complex projects.
Asset store restrictions:
In the free version, you only have a small portion of the asset store.
No premium audio tools:
Voice changer or audio ducking and other features are unavailable in the free version.
Pro Version: Discovering the Full Potential of Editing
The pro version is for professional creators who want advanced features. It provides a variety of advanced editing features.
Unlimited layers:
You have unlimited layers of edits and no number of restrictions.
Full asset store access:
You can explore the vast library of premium templates, transitions, and effects.
No watermark:
You can export professional-looking videos without a watermark.
Premium audio tools:
You can use a voice changer and audio ducking to enhance the quality of your video.
LUT color filters:
You can use LUT presets to apply color grading on your video for professional quality.
Chroma key (green screen):
You can create a fantastic green screen effect on your video for perfectly seamless compositing.
Reverse rewind and mirror effects:
Use reverse or rewind effects and mirror effects to add unique graphics to your videos. Our Kinemaster Free vs Paid guide explores features and pricing andg & helps you decide.
Additional Considerations
Subscription options:
In the pro version, you can choose monthly or yearly subscriptions.
Device compatibility:
Check your device to see if it meets both versions’ requirements.
Learning resources:
Kinemaster Free vs. Paid versions provide tutorials and guides to help you to use the Kinemaster app.
The Verdict:
You can choose the version which is best for you.
So, which version should you choose? It depends on your needs and objectives.
The free version suits beginners and casual users who want simple edits.
The pro version is perfect for severe creators and professionals who need advanced features.
Conclusion
The best way to decide is to download the free version and explore its features. If it meets your needs, you can choose this. If you want more creative features and professional results, use the pro version; it might be your perfect editing partner. Our Kinemaster Free vs Paid guide explores features and pricing and helps you decide.
This blog helps you explore the world of Kinemaster and choose the best version to create the best videos.
As a professional content writer and researcher with 7 years of Kinemaster experience, I’m passionate about empowering creators with the knowledge and skills to bring their visions to life.
My journey began with a simple desire to tell stories through video, and Kinemaster quickly became my go-to tool for crafting engaging visuals.
On this platform, you’ll find:
In-depth tutorials and guides: Learn everything from basic trimming and effects to advanced color grading and transitions, all tailored for Kinemaster’s unique interface.
Expert tips and tricks: Discover hidden features, optimize your workflow, and elevate your edits with my hard earned insights.
Comprehensive resource hub: Stay up-to-date with the latest Kinemaster updates, explore curated templates and assets, and connect with a vibrant community of editors.
 Download Latest Version")
")


